It consists of the evening light from a window that follows the sun. A place for everything, and everything in its place. A serger, a sewing machine, and a garment/skin sewing machine, all three interchangeable at the press of a button. Enough room for my many, MANY bins and bags of fabric. Baskets full of notions, ric rack, and bias tape of all colors. Ribbon and trimmings in abundance. And most importantly of all, NO ONE but me allowed.
I think I'll scrap the idea of having another child, and just wait until my youngest is out of school, so we can make one of the bedrooms into a sewing room. For me, and me alone.
For now though, I have to settle with skins in bins, leather in bags, fabric all over the place, and many projects in ziplock bags waiting for attention. Oh, and a sewing machine on my kitchen table. :(
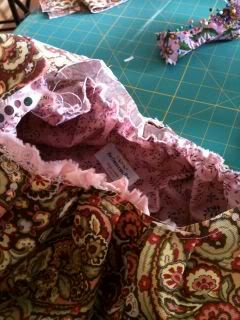
That's OK though. I get stuff done even on my kitchen table. Like these:
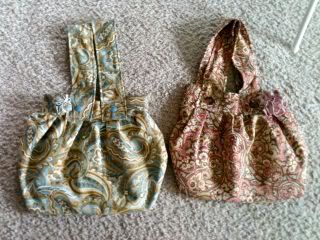
They're for my sister's for Mother's Day. As of right now, I'm still trying to figure out what to make for my mom. We did a bunch of family photos for her of all her grandkids, but that just doesn't seem like enough for someone who bends over backwards for all of us. All the time.
Saima's taking her to Hawaii on Tuesday, and she does NOT wear purses. Actually, she uses her dad's wallet, and you know you can't use that in Hawaii. So, we're trying to figure out a way to make her a Fanny Pack (I know...shhh.) for her Hawaii trip, so she doesn't lose stuff. Like sunscreen, or her phone, or Clara. :)
So, we continue looking, but until then, here is my own tutorial on how to make a pretty purse for your sister, or mom, or friend, or yourself!
I saw a photo of one of these bags in some Etsy shop, and didn't want to pay the $12 for the pattern, nor did I want to pay $35 for the actual purse, then have to wait. (And really, I didn't think about getting anything until the other day, so with AK shipping, nothing would have come in time! ) So, I put my thinking cap on and thunk, thunk thunk. :) It worked too, cause they turned out exactly like they were supposed to. (PSH, kiss my broadside pattern nazi's!)
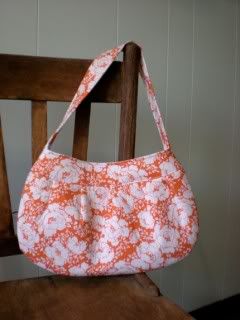
Step one: Make a pattern. :) Like this one. I figured about double the top, so a foot on bottom, two feet on top. Cut one out of some heavier weight fabric, and one from a coordinating cotton print. We like paisley. And we like pink and brown.
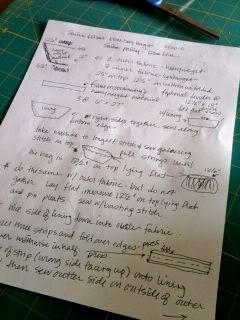
Step two: Sew the lining together, right sides together. Sew the outer lining together, right sides together and flip right side out.
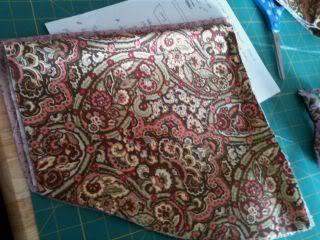
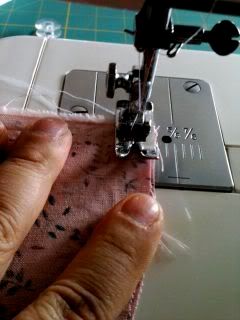
Step three: Sew a running stitch around the outside of the lining, and pull to ruffle edge. Make sure the edge is 12" long (or, the same size as your bottom).
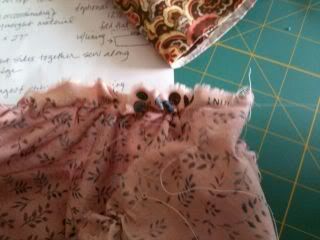
Step four: Pleat the outside fabric and pin in place, making sure the top end up being 12" long. Sew a quick running stitch around the edge to hold in place.
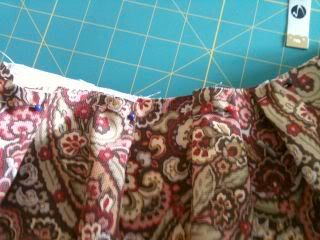
Step five: Stuff your lining into the outer fabric.
Step six: Take one of the strips and press the ends down, lengthwise. Sew one edge (the very end) down. Then fold in half lengthwise and press the middle down as well.
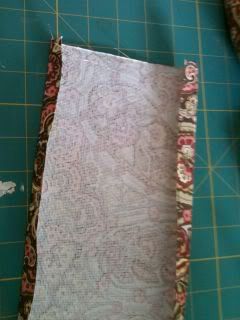
Or if you're lazy like me, use your scissors to force a pleat!
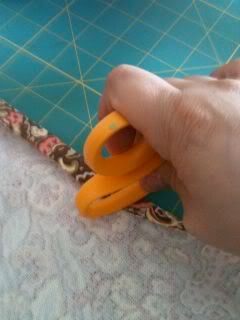
Step seven: (This is sort of hard and uh, difficult to explain) Take the wrong side of your top piece, place half on the underside (facing the lining) and fold over so its facing the outer fabric, then...if you're ninja like me, sew in place, making sure you sew the top piece and the bottom piece. (If you're not ninja, then I'd sew the underside to the lining to the outer band, then fold over, and sew again to the top of the outer fabric.)
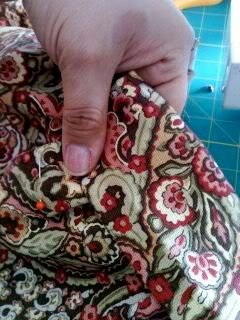
(for those of you who remember my "fluffy hands" back in October, the circular looking thing on my hand is a scar. That's what my hands, feet and legs and upper arms look like, thanks to the reaction to Septra...so be careful. :( I don't want you to endure what I endured.)
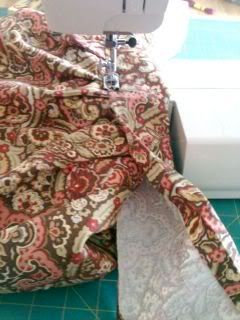
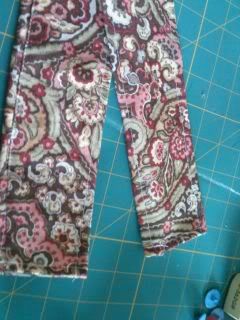
Step eight: Have a drink, cause you made it this far. :) Sew both of the remaining bands together, lengthwise wrong sides out. Flip right side out to make a tube. Sew around the edges to make it cooler looking.
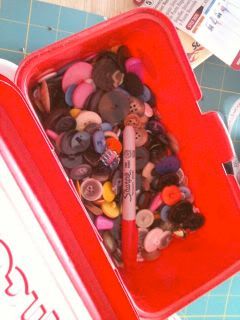
Step nine: Button, Button, who's got the button?! Find your button stash and pray that you have four matching buttons. (Did you know that aside from raiding the closet for clothes you don't wear, you can't find a BUTTON in Kotzebue? What the heck is that?! Luckily, I have lots of buttons thanks to my Grandma for giving me a button obsession!) Oh, sew them onto the straps down on the bottom of each side.
Step ten: Almost done. Whew. How long has it been? twenty minutes? Oh. An hour? Dang. Anyway, sew the straps on in any fashion you like. Both on the same side, on on each side, etc. Experiment as you see fit.
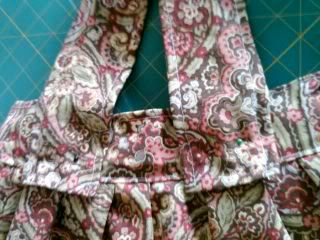
Step eleven: Cut off all the little stringys that your sewing machine left on there...and YOU'RE DONE.
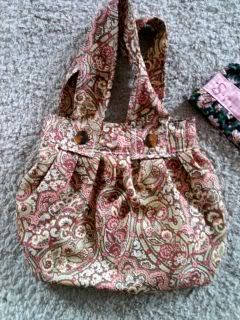
Wrap it up, and give it away. I said GIVE it away. Let go...go ahead, let go. I'm sure you can find better fabric for your own bag.
Oh, and Happy Mother's Day...again!


2 comments:
Super cute, Maija!
(BTW, I use my kitchen table, too, but not nearly as often as you do!)
I'd love to buy one of these. A pink one for my niece. She would be thrilled. She loves pink.
Do you have any for sale?
Rebecca
Post a Comment